Another Monster Mast
08/01/17 18:54 Filed in: Antennae
This time for Charlie.
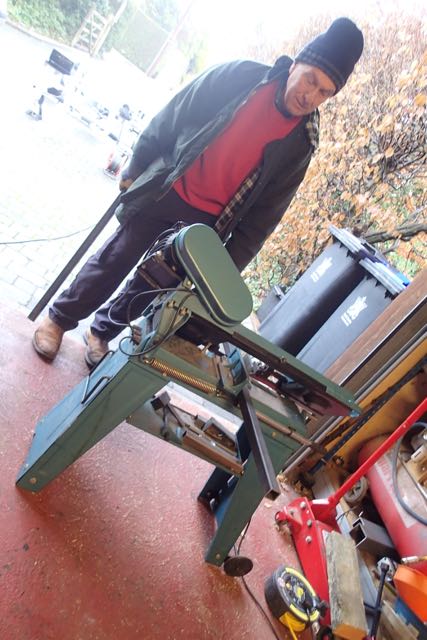
Wet started off cutting up all the 30x30x3mm section on the bandsaw
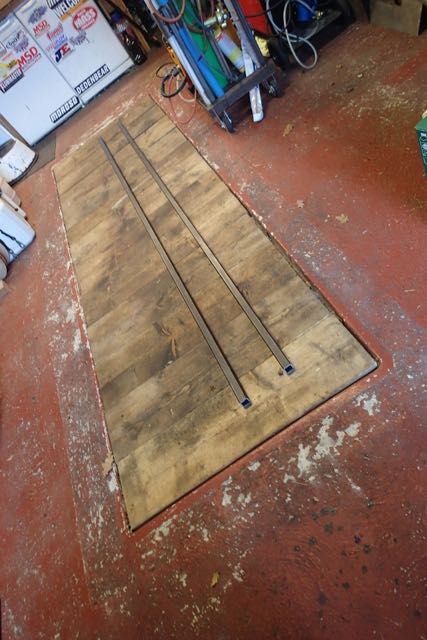
and laying to out
A bit of cleaning up

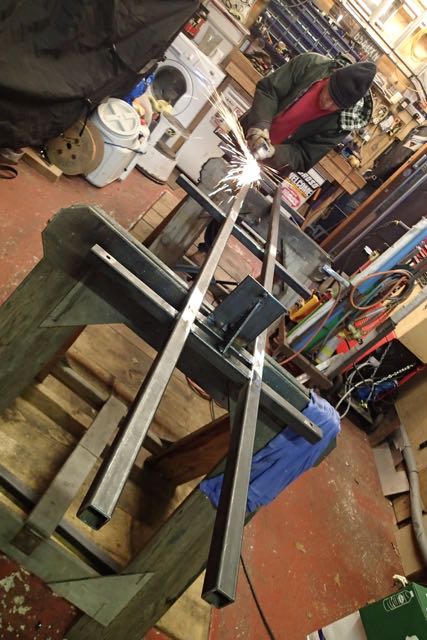
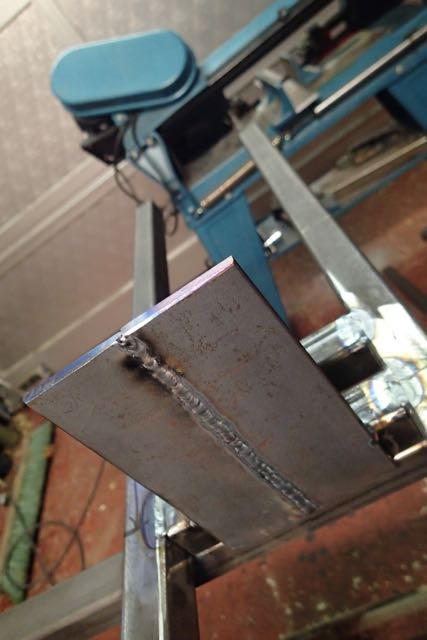
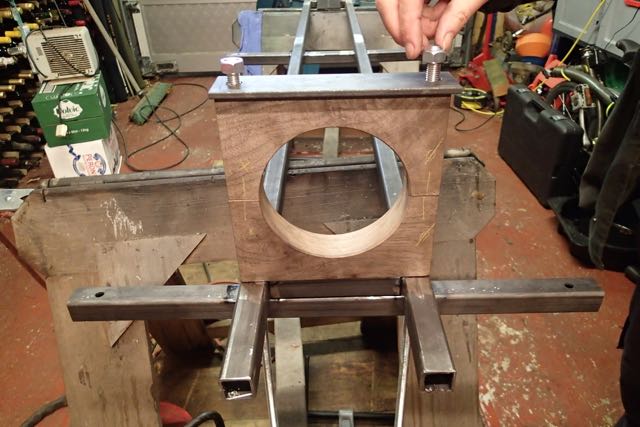
and welding it all together. Here is the base plate that the mast sits on
and the collar turned from walnut (posh!)
That was day one
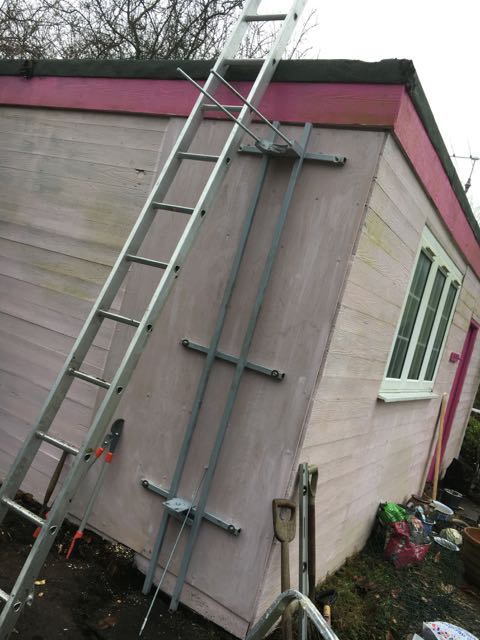
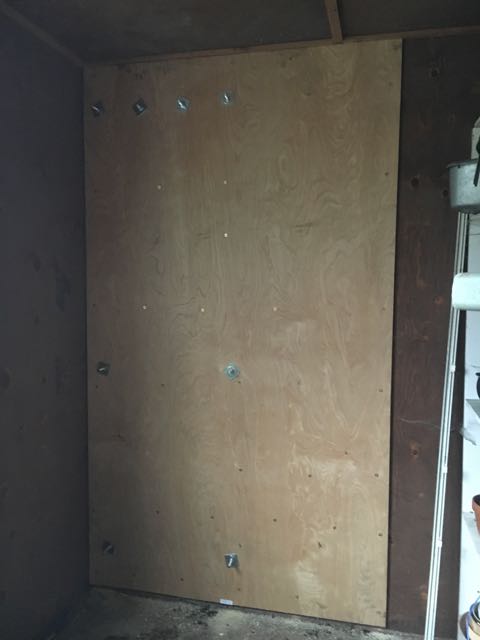
Sunday was erection day after fitting the ply to both sides of the wall and spraying the metalwork
here it is on the frame
and here is the frame on the wall. bolted through with 10 and 12mm studding
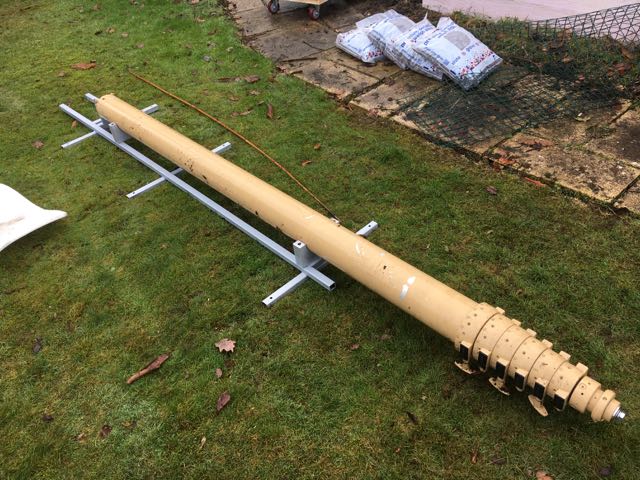
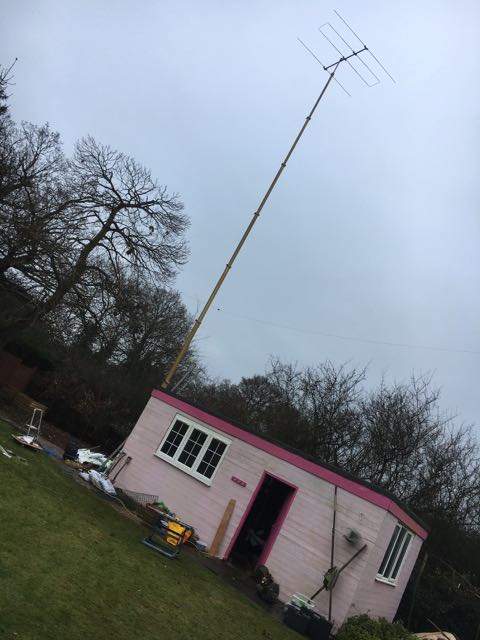
then the moment of truth
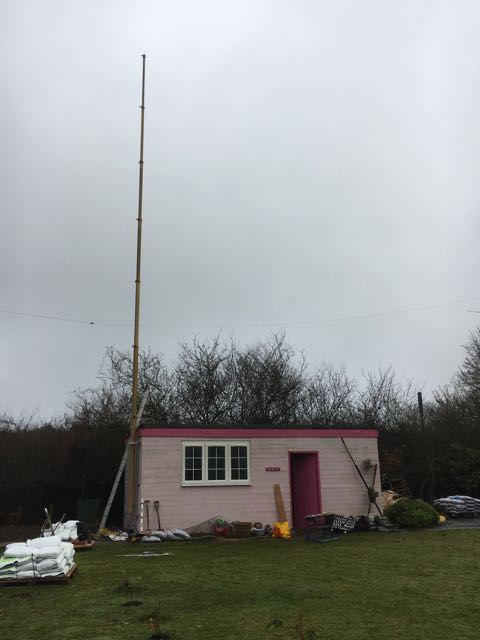
That’s 45’ to you sir
Wet started off cutting up all the 30x30x3mm section on the bandsaw
and laying to out
A bit of cleaning up
and welding it all together. Here is the base plate that the mast sits on
and the collar turned from walnut (posh!)
That was day one
Sunday was erection day after fitting the ply to both sides of the wall and spraying the metalwork
here it is on the frame
and here is the frame on the wall. bolted through with 10 and 12mm studding
then the moment of truth
That’s 45’ to you sir
blog comments powered by Disqus