It's Arrived
11/07/15 09:26 Filed in: Antennae | Shack Stuff
Oh yes.. we have all been waiting for the hex beam. And it is finally here.
I had intended to make this my home base antenna when I ordered it at the beginning of the year but could not bear the wait to get a better performing antenna than my trusty Gap Titan, which the neighbours said had to go, came down.
As you know I was forced into a planning application for a telescopic mast and with no Hex in sight went to Ron at Vinecom for a StepIr DB11. Which is brillinant. No doubt about that so I will say it again. It is BRILLIANT.
So question, if I can get any sort of comparison set up here, can we see how the Spidex hex beam performs using the DB11 as a comparison. Of course coastwise there is none. The hex is sub £500 and the DB11 tops £2.5k. (no telling Mrs LDZ now).
So here is what you get in Waldi’s hex. and if i remember correctly the one I have is the light version. It is eventually going to be put to use for field days and the mini dxpeditions.
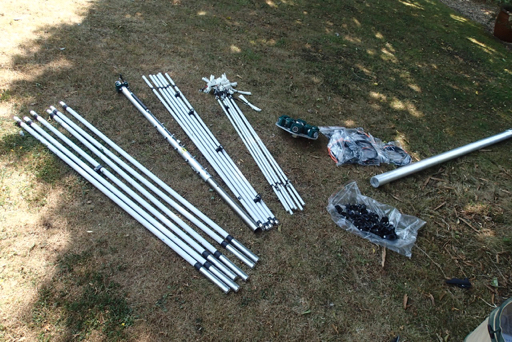
Here are the contents. the fibreglass spreaders in three parts each, the centre hub and the centre post to school you connect the wire elements.
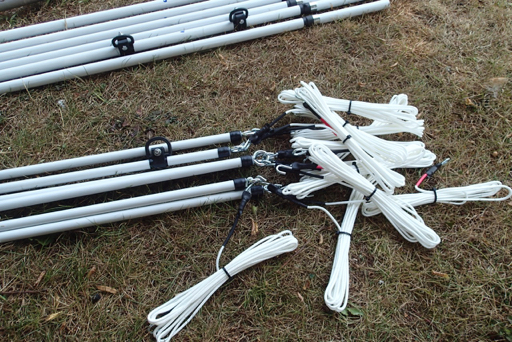
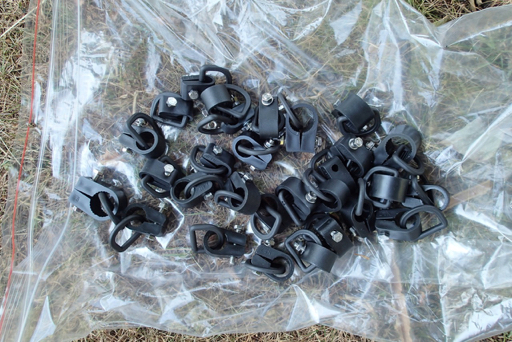
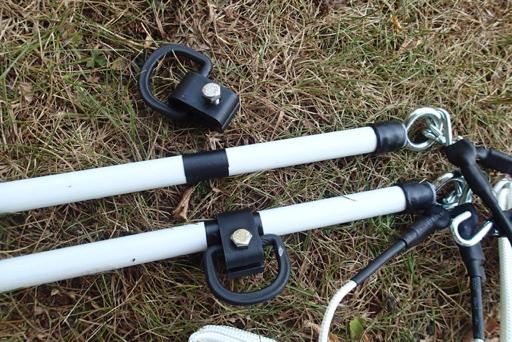
The first job, which gets done only once is to put the plastic hooks onto the spreaders and Waldi has done one of each for you to follow. So just use a marker and mark each tube, wine a bit of tape around it and put the clamp and “D:” ring on. This will take an hour or so. Make sure they are lined up on the one with 4. Otherwise this is straightforward. It all is really.
Right, you are back with me after having done that. Now here is the fun bit. Slotting everything together.
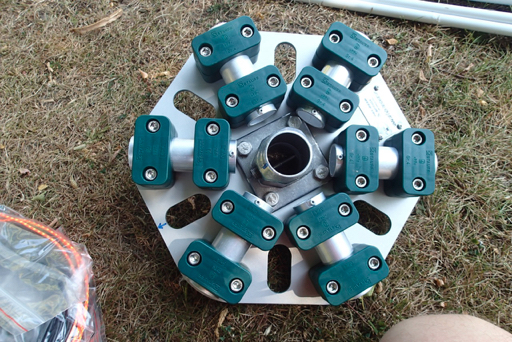
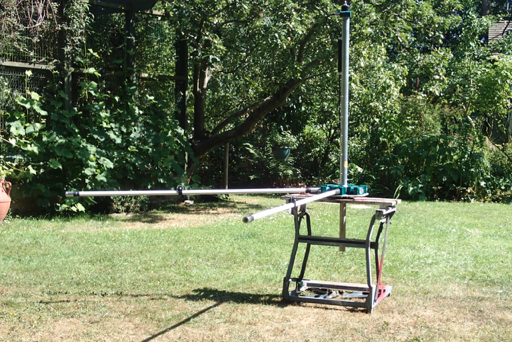
Sit the hub on a stand of some sort to stop it rolling about and put the post bit into it.
Then you are free to slot the spreaders (possibly not the right technical term) in. They are numbered but as far as I can see are all the same so I doubt if is would make any difference where they went.
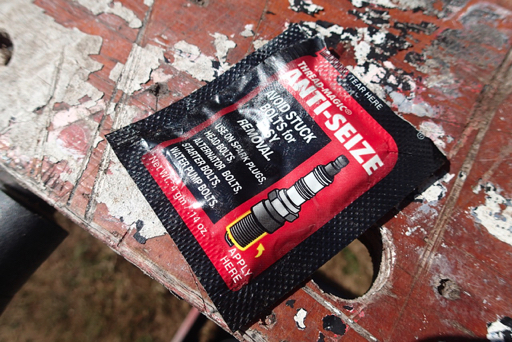
One thing that you might want to do if you are going to be taking it apart a lot, like me, is to treat the aluminium to aluminium connections with some anti-seize.
Now simply take the lines already on the end of the spreaders and hook them onto the eyelet on the top of the centre post.
With that done, and it takes seconds to do the whole thing, you are ready to thread the wires.
Now this is where I am going to work on making this easier for the portable work. With the design as it is you have to thread each element through each D ring. What would be good would be to be able to clip to the d ring as you go round thus not having to feed the whole element through each ring. I will let you know who that idea works out.

That is the 6m element on. Basically like a folded Moxon. You cants see the orange bits which is where the driven and reflector are separated.
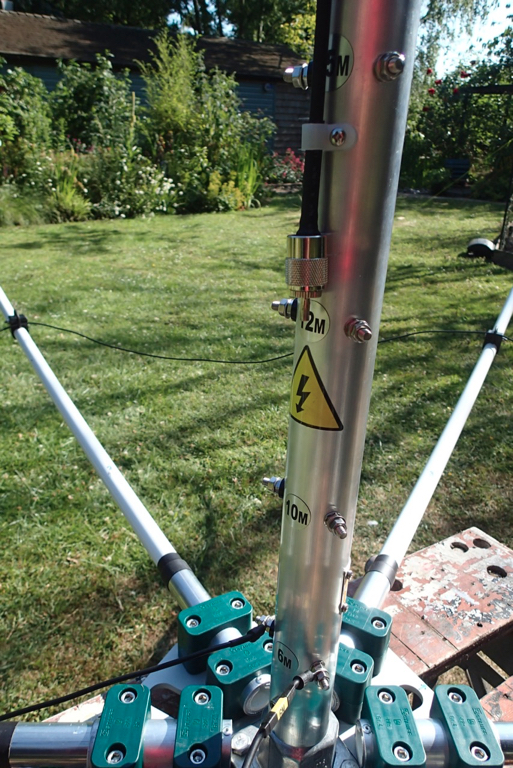
Thats the connection to the centre post. Again to make it easy in the field I will swap the just for wing nuts.
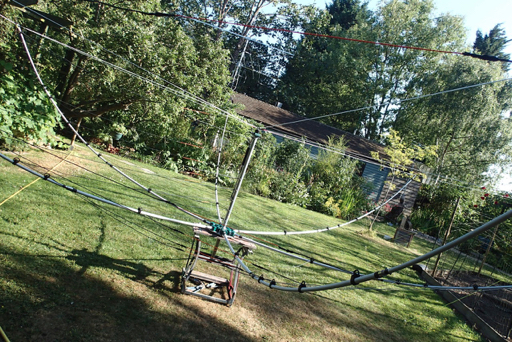
And that’s as far as we have got before having to go out. All in all a couple of hours and its done.
It is bigger than the DB11, which surprises me but much lighter.
I have the Spidex aluminium pole as well so we will be diving that a whirl and trying to get the thing up in the garden to evaluate it soon. Check back and see as we will cover a quick test as well as taking it apart and any modifications for quicker field assembly.
I had intended to make this my home base antenna when I ordered it at the beginning of the year but could not bear the wait to get a better performing antenna than my trusty Gap Titan, which the neighbours said had to go, came down.
As you know I was forced into a planning application for a telescopic mast and with no Hex in sight went to Ron at Vinecom for a StepIr DB11. Which is brillinant. No doubt about that so I will say it again. It is BRILLIANT.
So question, if I can get any sort of comparison set up here, can we see how the Spidex hex beam performs using the DB11 as a comparison. Of course coastwise there is none. The hex is sub £500 and the DB11 tops £2.5k. (no telling Mrs LDZ now).
So here is what you get in Waldi’s hex. and if i remember correctly the one I have is the light version. It is eventually going to be put to use for field days and the mini dxpeditions.
Here are the contents. the fibreglass spreaders in three parts each, the centre hub and the centre post to school you connect the wire elements.
The first job, which gets done only once is to put the plastic hooks onto the spreaders and Waldi has done one of each for you to follow. So just use a marker and mark each tube, wine a bit of tape around it and put the clamp and “D:” ring on. This will take an hour or so. Make sure they are lined up on the one with 4. Otherwise this is straightforward. It all is really.
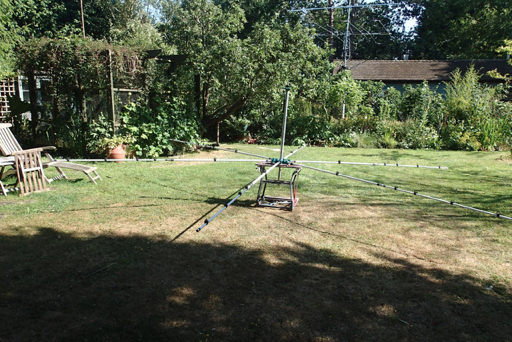
Right, you are back with me after having done that. Now here is the fun bit. Slotting everything together.
Sit the hub on a stand of some sort to stop it rolling about and put the post bit into it.
Then you are free to slot the spreaders (possibly not the right technical term) in. They are numbered but as far as I can see are all the same so I doubt if is would make any difference where they went.
One thing that you might want to do if you are going to be taking it apart a lot, like me, is to treat the aluminium to aluminium connections with some anti-seize.
Now simply take the lines already on the end of the spreaders and hook them onto the eyelet on the top of the centre post.
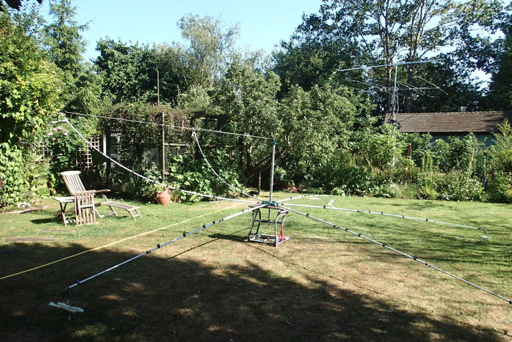
With that done, and it takes seconds to do the whole thing, you are ready to thread the wires.
Now this is where I am going to work on making this easier for the portable work. With the design as it is you have to thread each element through each D ring. What would be good would be to be able to clip to the d ring as you go round thus not having to feed the whole element through each ring. I will let you know who that idea works out.
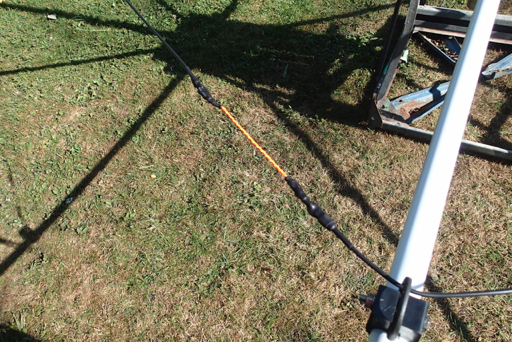
That is the 6m element on. Basically like a folded Moxon. You cants see the orange bits which is where the driven and reflector are separated.
Thats the connection to the centre post. Again to make it easy in the field I will swap the just for wing nuts.
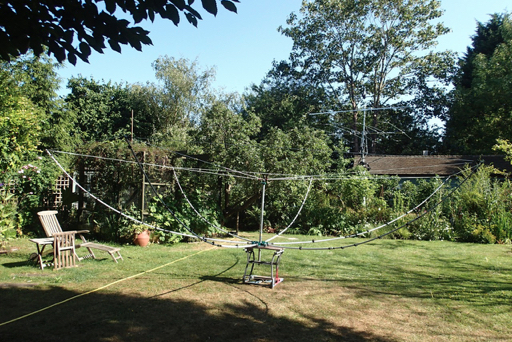
And that’s as far as we have got before having to go out. All in all a couple of hours and its done.
It is bigger than the DB11, which surprises me but much lighter.
I have the Spidex aluminium pole as well so we will be diving that a whirl and trying to get the thing up in the garden to evaluate it soon. Check back and see as we will cover a quick test as well as taking it apart and any modifications for quicker field assembly.
blog comments powered by Disqus